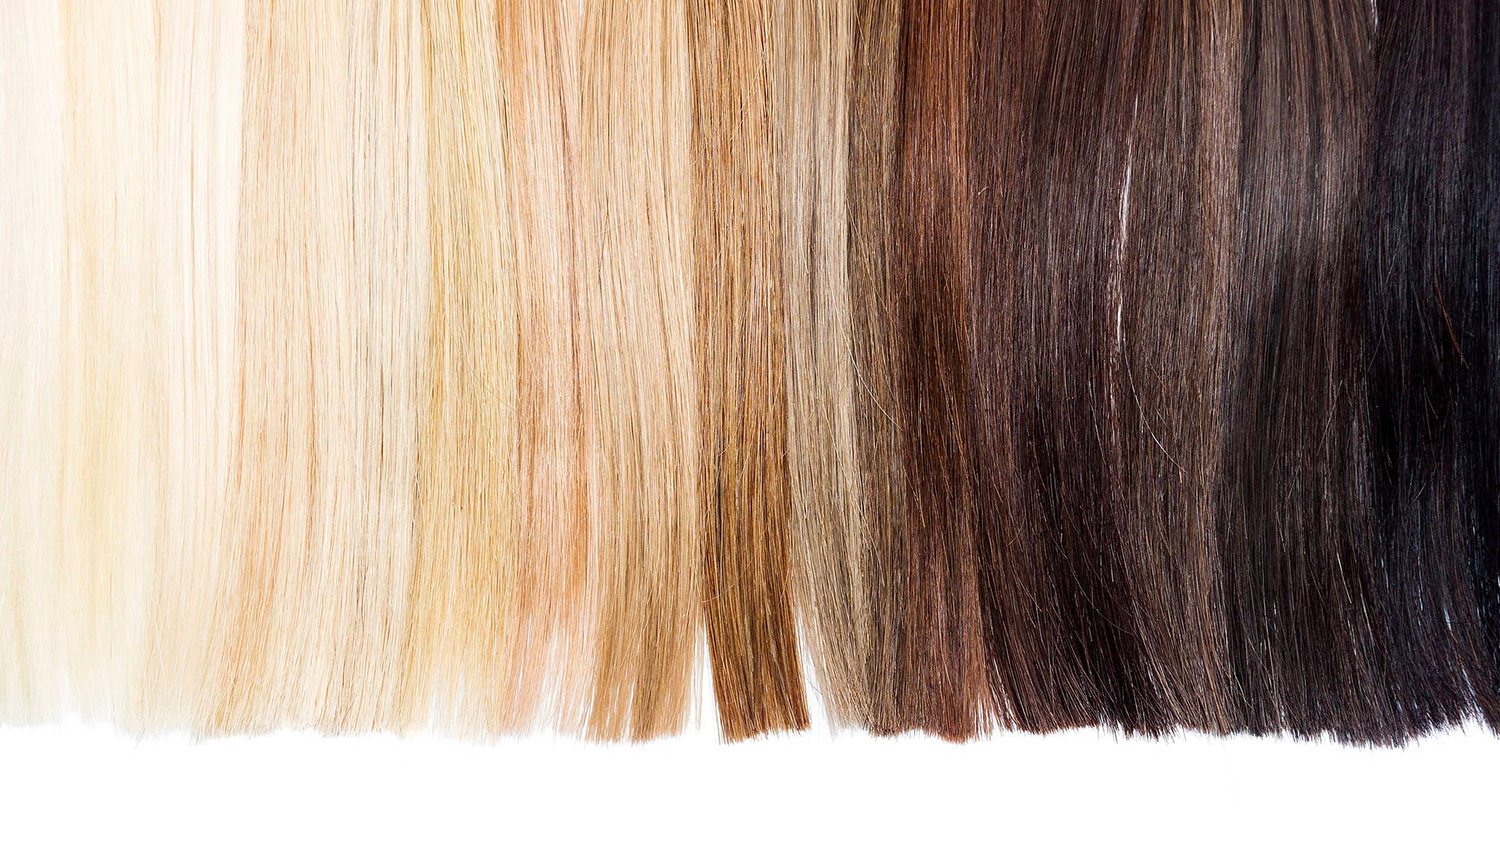
Are you tired of spending a fortune at the salon for your monthly hair extension maintenance? Do you wish there was a way to achieve beautiful, long locks from the comfort of your own home? Look no further than Muse For Hair DIY Hair Extensions! This method is not only super easy but also saves you money in the long run. Say goodbye to expensive visits and hello to stunning hair that lasts for weeks. Whether you're a busy mom, a bride-to-be, or simply short on time, Muse DIY extensions are here to make your life easier. In this comprehensive guide, we'll walk you through the entire process, from application to removal, ensuring you achieve professional-looking results every time.
Why Choose Muse DIY Hair Extensions?
- Cost-Effective: Muse DIY extensions allow you to save thousands of dollars in salon expenses. By investing in high-quality hair and learning the application technique, you can enjoy beautiful, long-lasting extensions without breaking the bank.
- Convenience: Say goodbye to monthly salon appointments and hello to the convenience of DIY extensions. With just 20 minutes of your time, you can transform your hair whenever and wherever it suits you. No need to rush to the salon or rearrange your schedule to maintain your extensions.
- Reusability: Unlike some other extension methods, Muse DIY extensions offer reusability. With proper care, the hair can last for up to a year, allowing you to switch up your look as often as you desire. This not only saves you money but also reduces waste, making it an eco-friendly option.
The Muse DIY Hair Extension Process:
Step 1: Gather Your Supplies
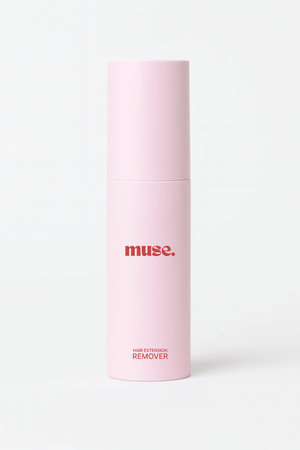
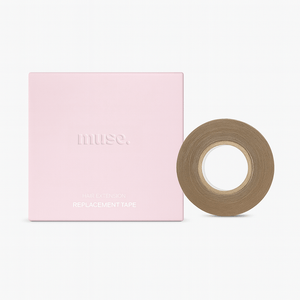
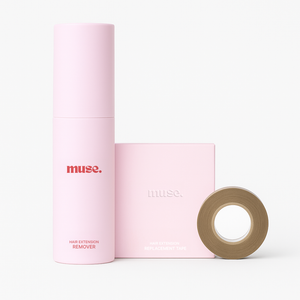
Before you begin, make sure you have all the necessary supplies on hand. You'll need high-quality hair extensions, special tape for application, a rat-tail comb for sectioning, and a removal solution for when it's time to take them out.
Step 2: Prepare Your Hair
Start by washing and thoroughly drying your hair. Avoid using any heavy conditioners or styling products that may interfere with the adhesive.
Step 3: Section Your Hair
Using a rat-tail comb, create a horizontal parting about an inch above the nape of your neck. Clip the rest of your hair up and out of the way. This will be your first row for extension application.
Step 4: Apply the Extensions
Take a strip of special tape and remove the backing. Place the tape strip underneath the sectioned hair, close to the roots, and press it firmly to secure it. Repeat this process, working your way up in rows until you achieve your desired thickness and length.
Step 5: Blend and Style
Once all the extensions are in place, carefully release the clipped-up hair and blend it with the extensions using a brush or your fingers. Style your hair as desired, and voila! You have achieved beautiful, salon-worthy hair extensions in the comfort of your own home.
Step 6: Maintenance and Removal
To ensure the longevity of your Muse DIY extensions, it's important to care for them properly. Use sulphate-free hair products, avoid excessive heat styling, and brush gently to prevent tangling. After approximately four weeks, it's time for removal. Apply the special removal solution to the tape area and gently peel off the extensions. Clean the adhesive residue from the extensions and reapply new tape for future use.
Muse DIY Hair Extensions are the perfect solution for busy individuals who want to achieve gorgeous, long-lasting hair from the comfort of their own home. By following our step-by-step guide and investing in high-quality hair, you can save money, time, and enjoy the convenience of Muse For Hair DIY extensions. With just 20 minutes of application time and proper maintenance, you can rock beautiful hair!
